
Throw a Seed Zones & Distance
Reach farther through the canyon, separate strength from seed luck, and understand the known Meadow to Starlight Glade progression.
Source review: November 15, 2026 · Unofficial player guide
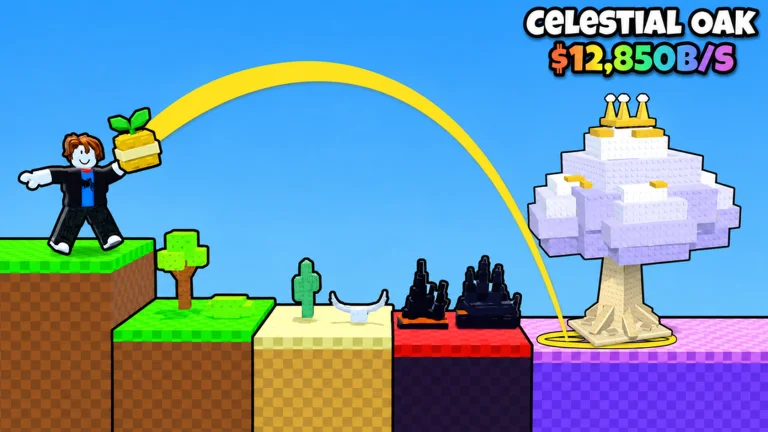
Each zone your seed passes boosts luck. The official description advertises 15 zones, from Meadow to Starlight Glade. To improve reach, do pull-ups, inspect the next bar and time the throw carefully.
The known zone ladder
| Progression | What is confirmed |
|---|---|
| Start: Meadow | Named in the official description as the early endpoint. |
| 15 zones advertised | Every zone passed increases luck. Intermediate names, distance thresholds and individual multipliers are not published in the inspected description. |
| Far endpoint: Starlight Glade | Named as the far endpoint in the same source. |
We keep the known endpoints and the useful mechanic together instead of filling the remaining positions with names from a different seed game.
A practical farther-throw check
- Observe your usual landing area. Keep the seed and active boosts the same while comparing reach.
- Train with pull-ups. The official description directly connects strength with throwing farther.
- Inspect your next bar. Wood and Diamond are the named ends of the bar progression. Read the current in-game upgrade effect and cost.
- Work on timing. The official action is to tap at the right moment. A different timing result can affect the comparison.
- Compare the next landing. Once reach improves, evaluate seed luck separately for the pursuit of rarer plants.
What a luck purchase can and cannot tell you
A better seed is described as providing more luck. That is not a statement that it adds strength or moves your throw into the next zone. If distance is your bottleneck, training and bar upgrades address the stated cause. A rare plant still is not guaranteed by a farther throw.